
- VA-required appraisal repairs must be completed, documented and verified by a re-inspection before the loan can close.
- Buyers or sellers can cover the cost of repairs, but confirming who will pay early helps prevent delays later in the process.
One of the most dreaded responses a loan officer or real estate agent can receive from an appraiser is that the home requires repair to meet the VA’s Minimum Property Requirements (MPRs).
While the purpose of MPRs is to protect the buyer and ensure the home is safe, structurally sound and sanitary, failing the VA appraisal can undoubtedly be frustrating.
By understanding the VA appraisal and property requirements, you can reduce the number of repairs, but it’s not likely you will catch every single little thing. Occasionally, the repairs are as simple as placing a cap on an exposed wire. But other times, repairs can be extensive.
Common VA Appraisal Repairs
Some common VA loan appraisal repairs include:
- Lead-based paint
- Handrails for stairs
- Wood rot
- Foundation issues
- Electrical systems
- Mechanical systems
- Hot water heater
VA Loan Appraisal Repairs Process
If your VA appraisal comes back with required repairs, don’t stress. It’s a common part of the homebuying process. But those repairs need to be taken care of before your loan can close.
Here’s a simple, step-by-step guide to help you understand what happens next and how to keep your loan on track.
Step 1: Get a Copy of the Appraisal Notes Regarding Repairs
Your loan officer will let you know if the appraisal flagged any repairs, but it’s still a good idea to look at the appraisal report yourself.
Reading the appraiser’s notes gives you a firsthand look at what needs fixing and may even include helpful suggestions for resolving the issue, helping you avoid confusion and better understand what’s required.
Step 2: Identify Each and Every Repair Needed
It might sound simple, but creating a detailed list of all required repairs is one of the most important things you can do.
Whether you jot it down on paper or in your phone, having a reference list keeps you organized. It’s easy to focus on a major repair and accidentally overlook something smaller, but the appraiser will check that everything has been addressed.
Also, there’s usually a cost each time the appraiser comes out for a re-inspection. Taking care of all repairs at once can help avoid extra fees, keep the process moving and get you one step closer to closing.
Step 3: Talk With Your Loan Officer
Once you've reviewed the appraisal, check in with your loan officer. They may have received additional notes or updates from the appraiser that haven’t been shared yet.
If anything in the report is unclear, now’s the time to ask questions. Your loan officer can often provide helpful context, especially if they’ve seen similar issues before.
This is also a good opportunity to confirm who can pay for the appraisal repairs and what documentation you need to gather. Getting clarity now can help prevent delays later in the process.
Step 4: Coordinate With the Seller's Agent
Once you know the required repairs and who can cover the costs, your loan officer can step in to help communicate with the seller’s agent. They typically outline the list of necessary repairs one by one to ensure everyone’s on the same page.
It’s also important to discuss the necessary documentation for each repair, such as receipts, invoices, contractor reports or photos. Missing or incomplete documentation can hold up your closing, so getting clear expectations upfront helps keep things moving smoothly.
Step 5: Schedule Repairs
Have your loan officer work with the seller’s agent to schedule the repairs and set a realistic timeline for completion.
If repairs might affect your original closing date, discuss the timeline early so expectations can be adjusted as needed. If any delays occur, ensure the seller’s agent understands that they could impact your ability to close on time.
Step 6: Gather and Submit Repair Documentation
In most cases, if a repair is required for the home to meet the VA’s MPRs, then the VA has determined that this type of closing cost can’t be paid for by the buyer. There are some exceptions, so make sure to communicate with your loan officer regarding the repairs specific to your appraisal.
Regardless of who handles the expense, you likely have to provide documentation showing who paid for the repairs, who conducted the repairs (and possibly their licensing status), what was repaired and the exact cost. This can range from a detailed invoice from a licensed contractor or engineer to a pile of receipts from the local hardware store, along with a letter of explanation on how the homeowner made the repair themselves.
Helpful Tip: When you submit the documentation, make sure it’s very clear and legible and that all pages are included. If an underwriter can’t read it or it’s missing a page, closing could be pushed back for the loan officer to obtain a clearer or complete copy.
Step 7: Appraisal Re-Inspection
After all required repairs are completed and properly documented, your loan officer schedules a re-inspection. The appraiser returns to the property to verify that the repairs were completed and meet VA standards.
This is a key milestone in getting your loan cleared to close.
If you're having a tough time getting the seller to agree to repairs, it may help to remind them that you're using a VA loan, an earned benefit for Veterans and service members. Sometimes that extra context encourages a little more cooperation.
Reach out to your loan officer or speak with a Veterans United VA home loan expert at 855-870-8845.
How We Maintain Content Accuracy
Our mortgage experts continuously track industry trends, regulatory changes, and market conditions to keep our information accurate and relevant. We update our articles whenever new insights or updates become available to help you make informed homebuying and selling decisions.
Current Version
Nov 13, 2025
Written BySamantha Reeves
Reviewed ByTara Dometrorch
Updated article for accuracy and types of appraisal repairs. Content reviewed and fact checked by team lead underwriter Tara Dometrorch.

Related Posts
-
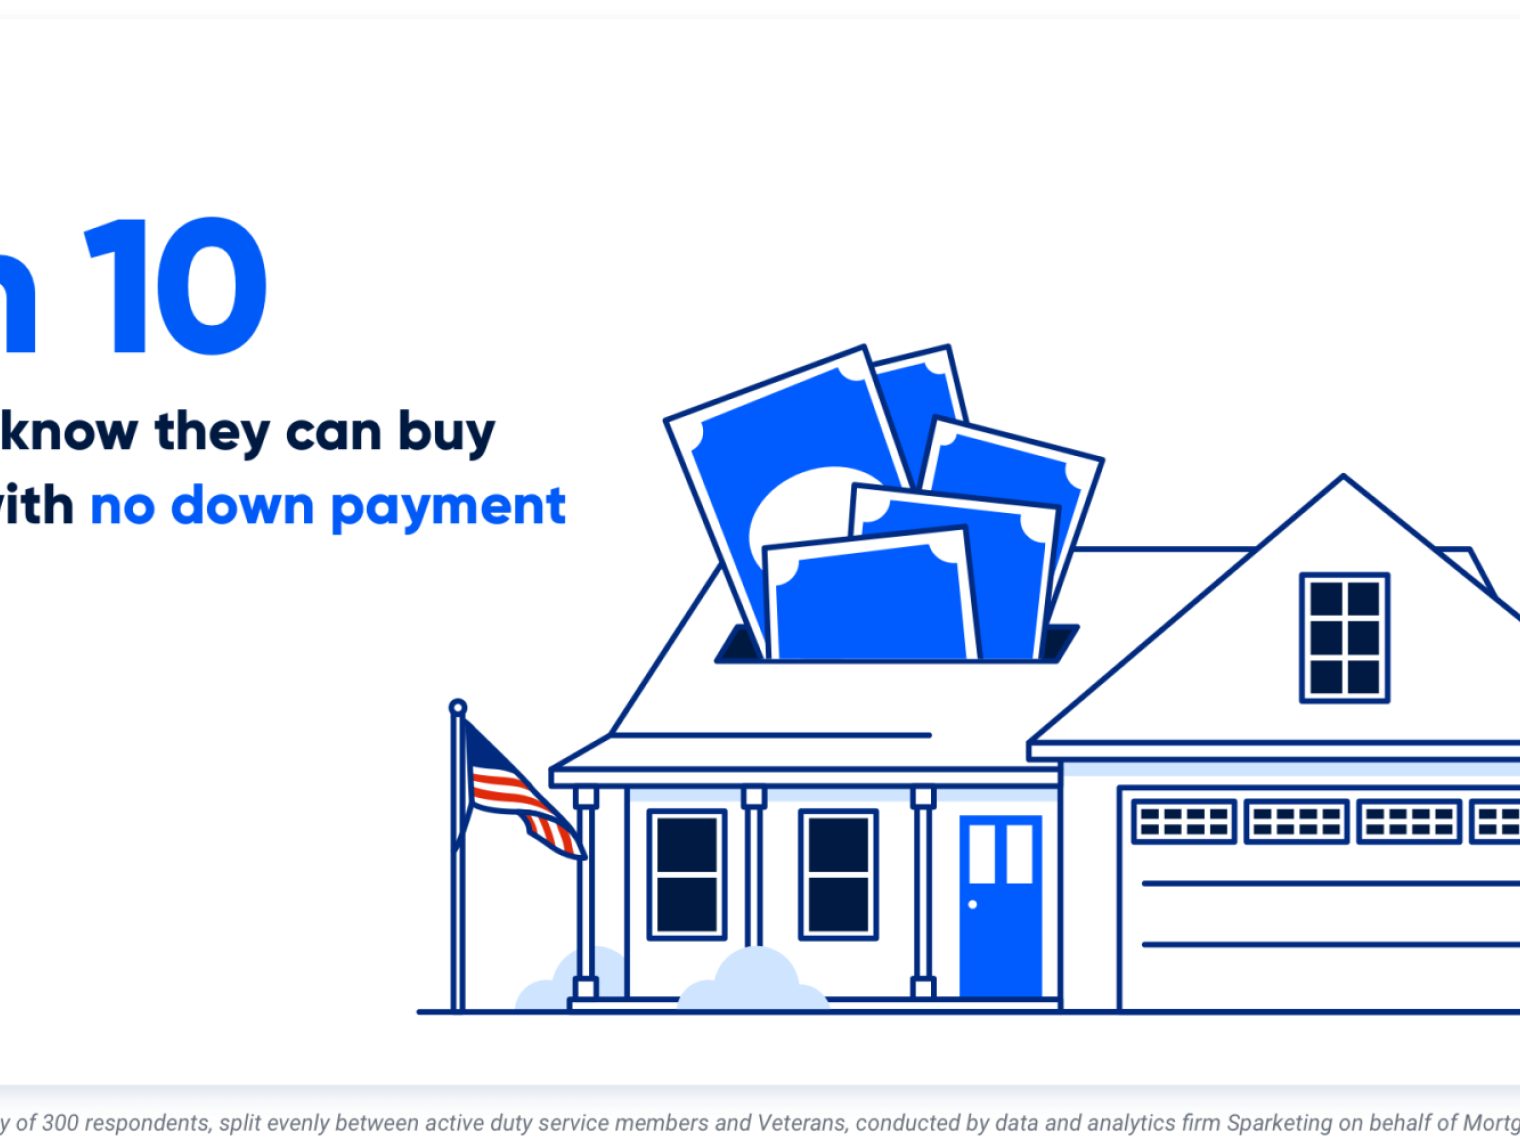 VA Loan Down Payment RequirementsVA loans have no down payment requirements as long as the Veteran has full entitlement, but only 3-in-10 Veterans know they can buy a home loan with zero down payment. Here’s what Veterans need to know about VA loan down payment requirements.
 -
 5 Most Common VA Loan Myths BustedVA loan myths confuse and deter many VA loan borrowers. Here we debunk 5 of the most common VA loan myths so that you can borrow with confidence.


